The Most Natural Looking Extensions - EVER!
Hello Luminary Ladies and Gents!
We’re getting close to Christmas and with all the unwrapping and cooking that’s about to happen, you can expect a client or two to come in with a broken nail. Even if you don’t do full sets and concentrate on natural nails, there is still an option to extend a broken nail and make a few extra bucks. Here’s how you can do it!
What You'll Need
- An empty jar
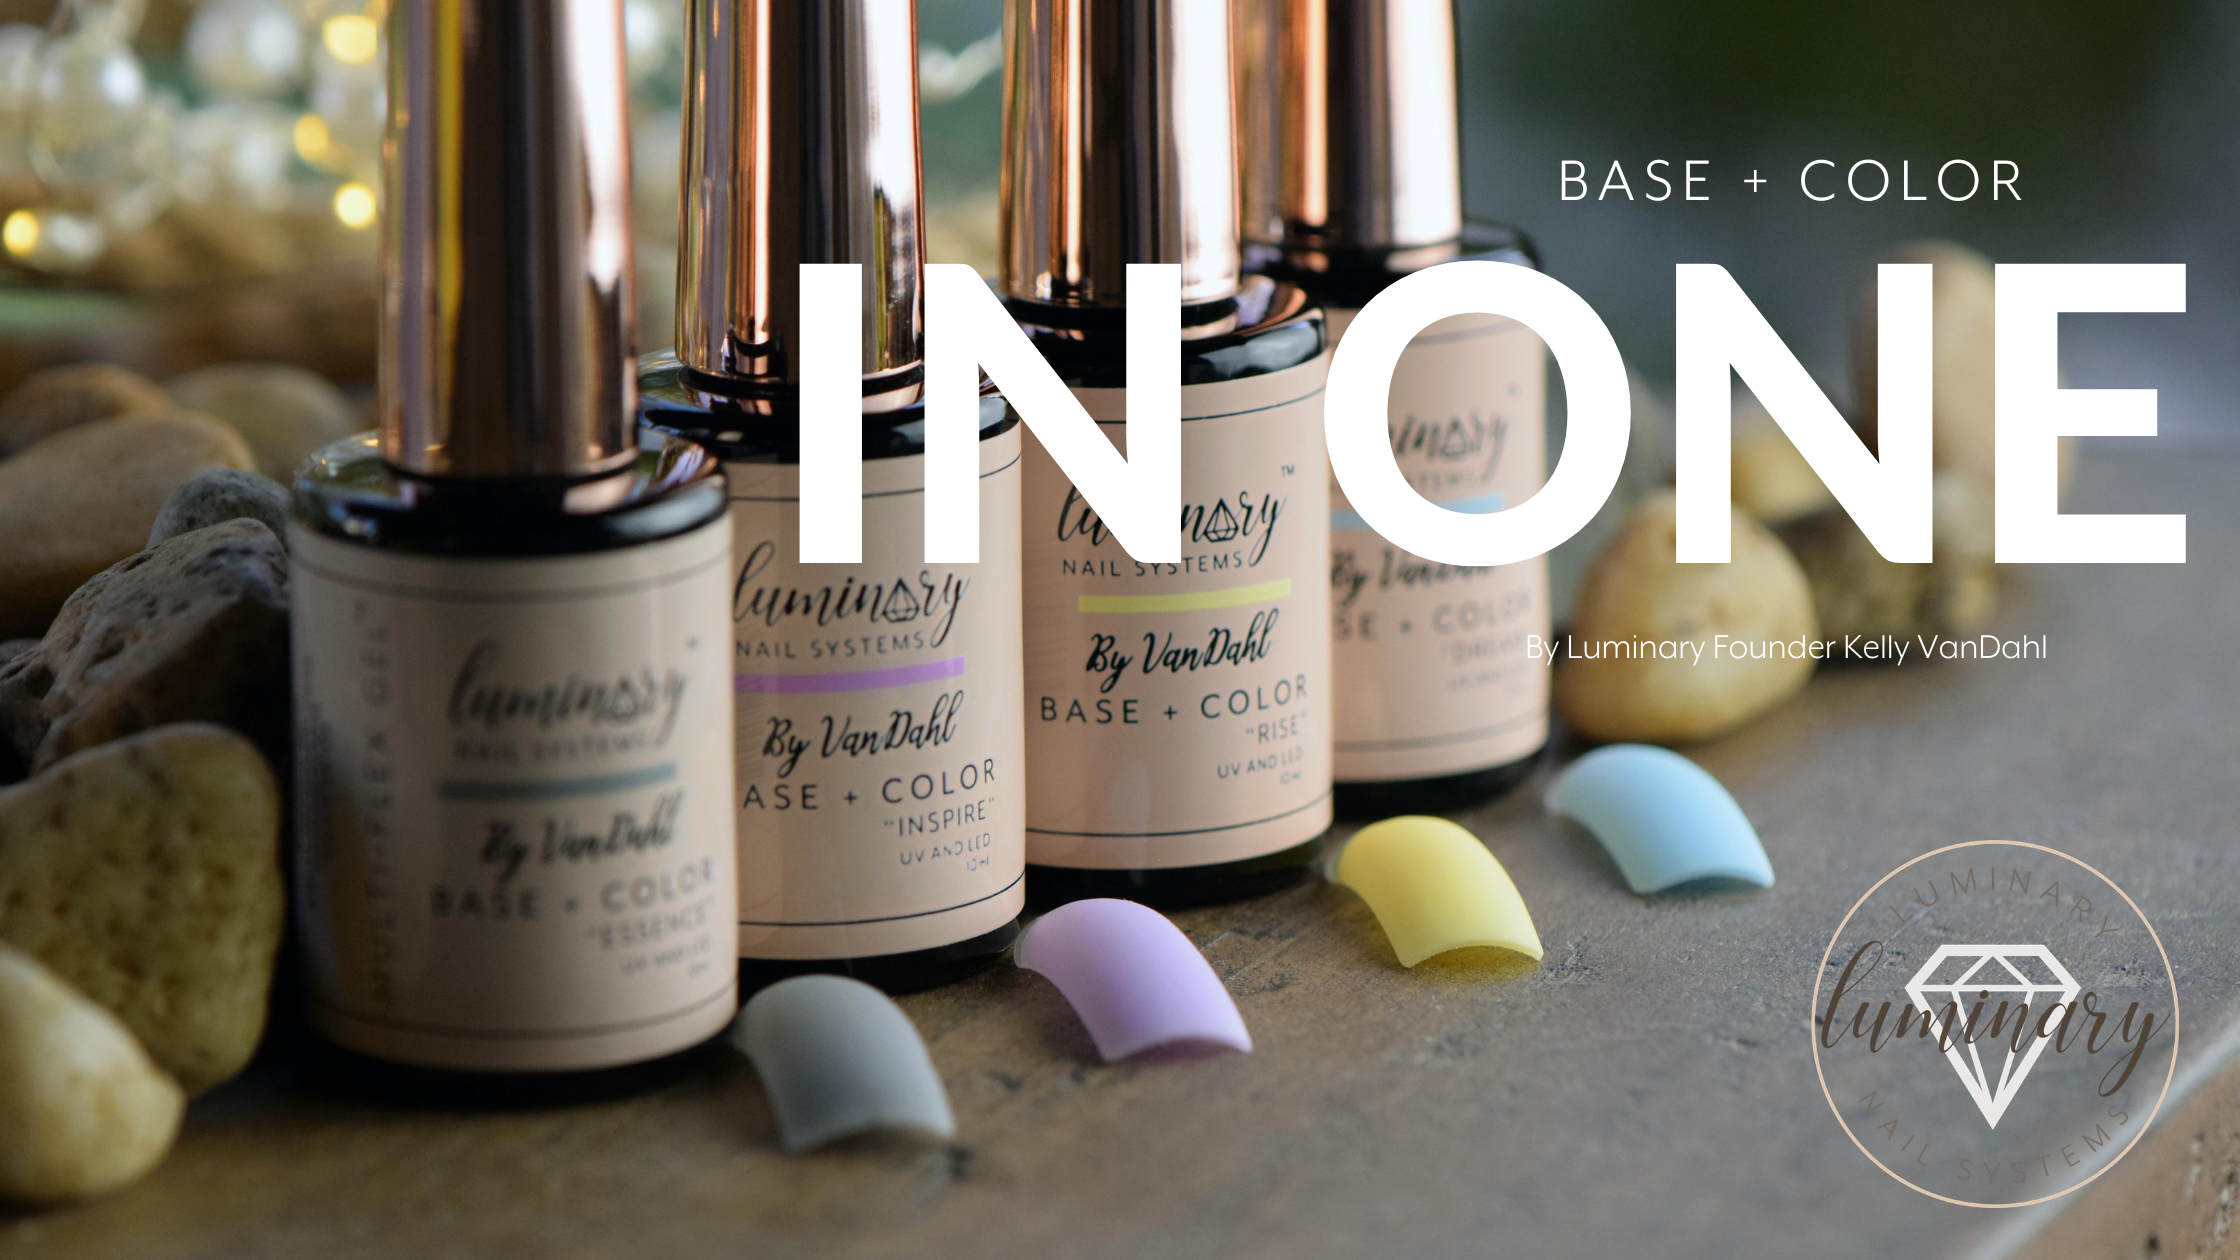
- (3) 30mls - Presence, Rise, and Clarity (these will make the mix for the extension)
- (1) 10ml - Multi-Flex of your choice
- Commit Primer
- Forms
The Mix

The key to a natural looking extension is getting the color of the gel right. Our natural nails are a bit transparent and on the yellow side. To achieve a similar look, take an empty jar and mix these 3 colors: Clarity, Presence and Rise. Start with mostly Clarity and add a tiny bit of Presence and a smidge of Rise and keep adding until you get your desired color. Remember you only need to make a small amount—it goes a long way! The closer to a natural look you can achieve, the more natural a Luminary color you can apply. Peace and Aspire are both a tad transparent and look best over a nail closest to natural looking as possible.
The Application
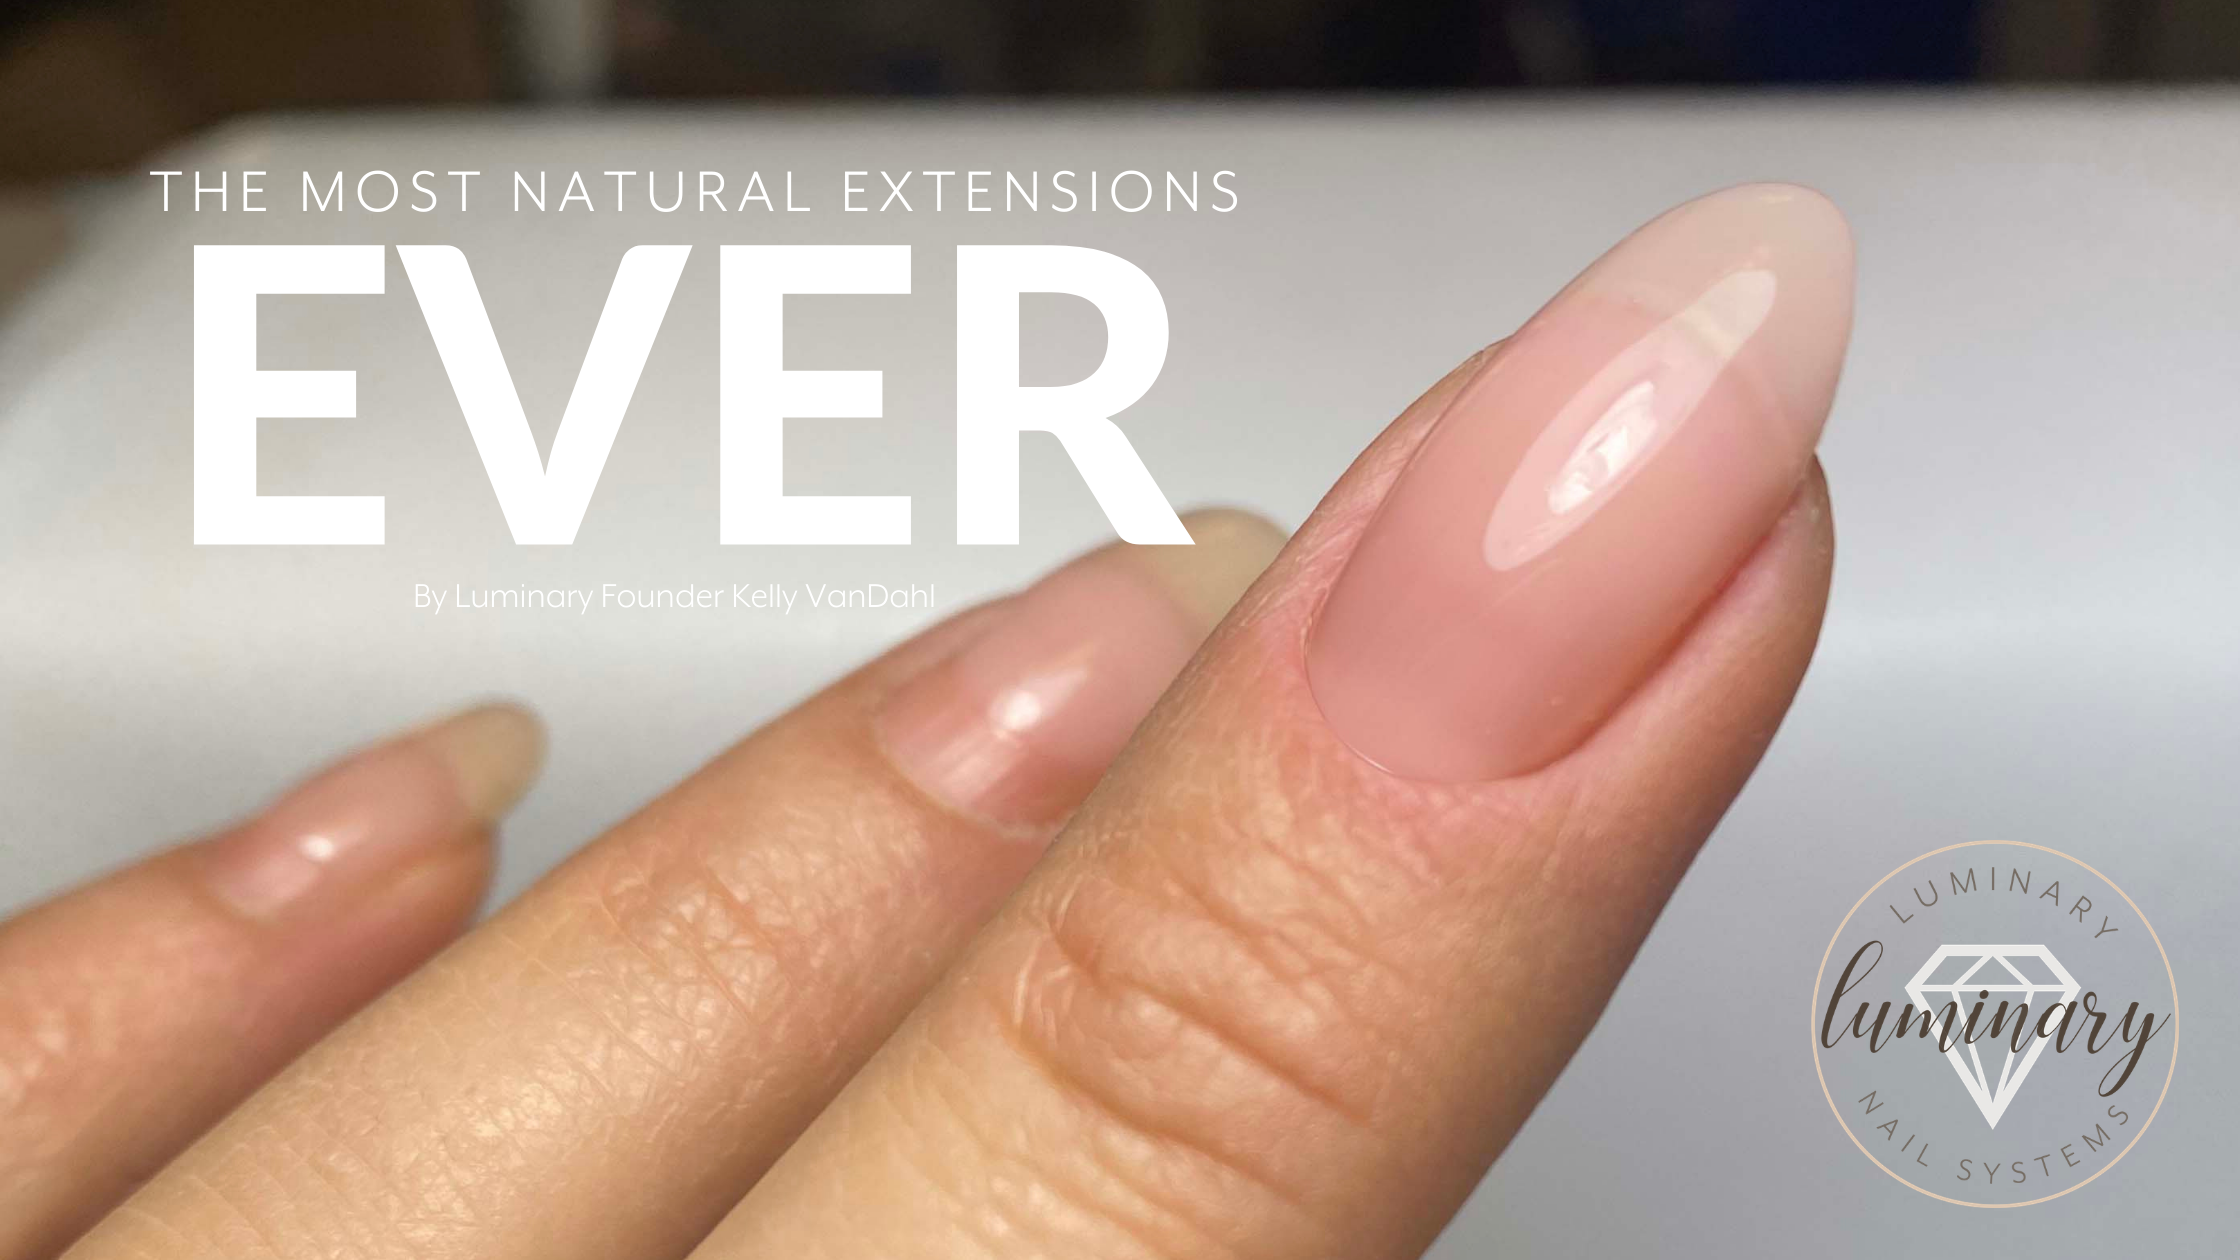
My goal is to get a totally natural looking nail without using a tip so [that] adhesion to the nail is the best it can be.
- Remove all gel and prep the nail as usual
- Apply Commit and a very thin layer of Multi-Flex. Cure in the light for 30 seconds
- Attach the form of your choice
- Now for the fun part! Using your newly mixed color, apply it just to the form making sure you barely touch the natural nail, not applying over top of the natural nail. Once your gel is perfected, have your client go into the light for 60 seconds. When she comes out remove the form with care and have her place her hand back into the light upside down for another 60 seconds to insure the gel is completely cured on top and bottom.
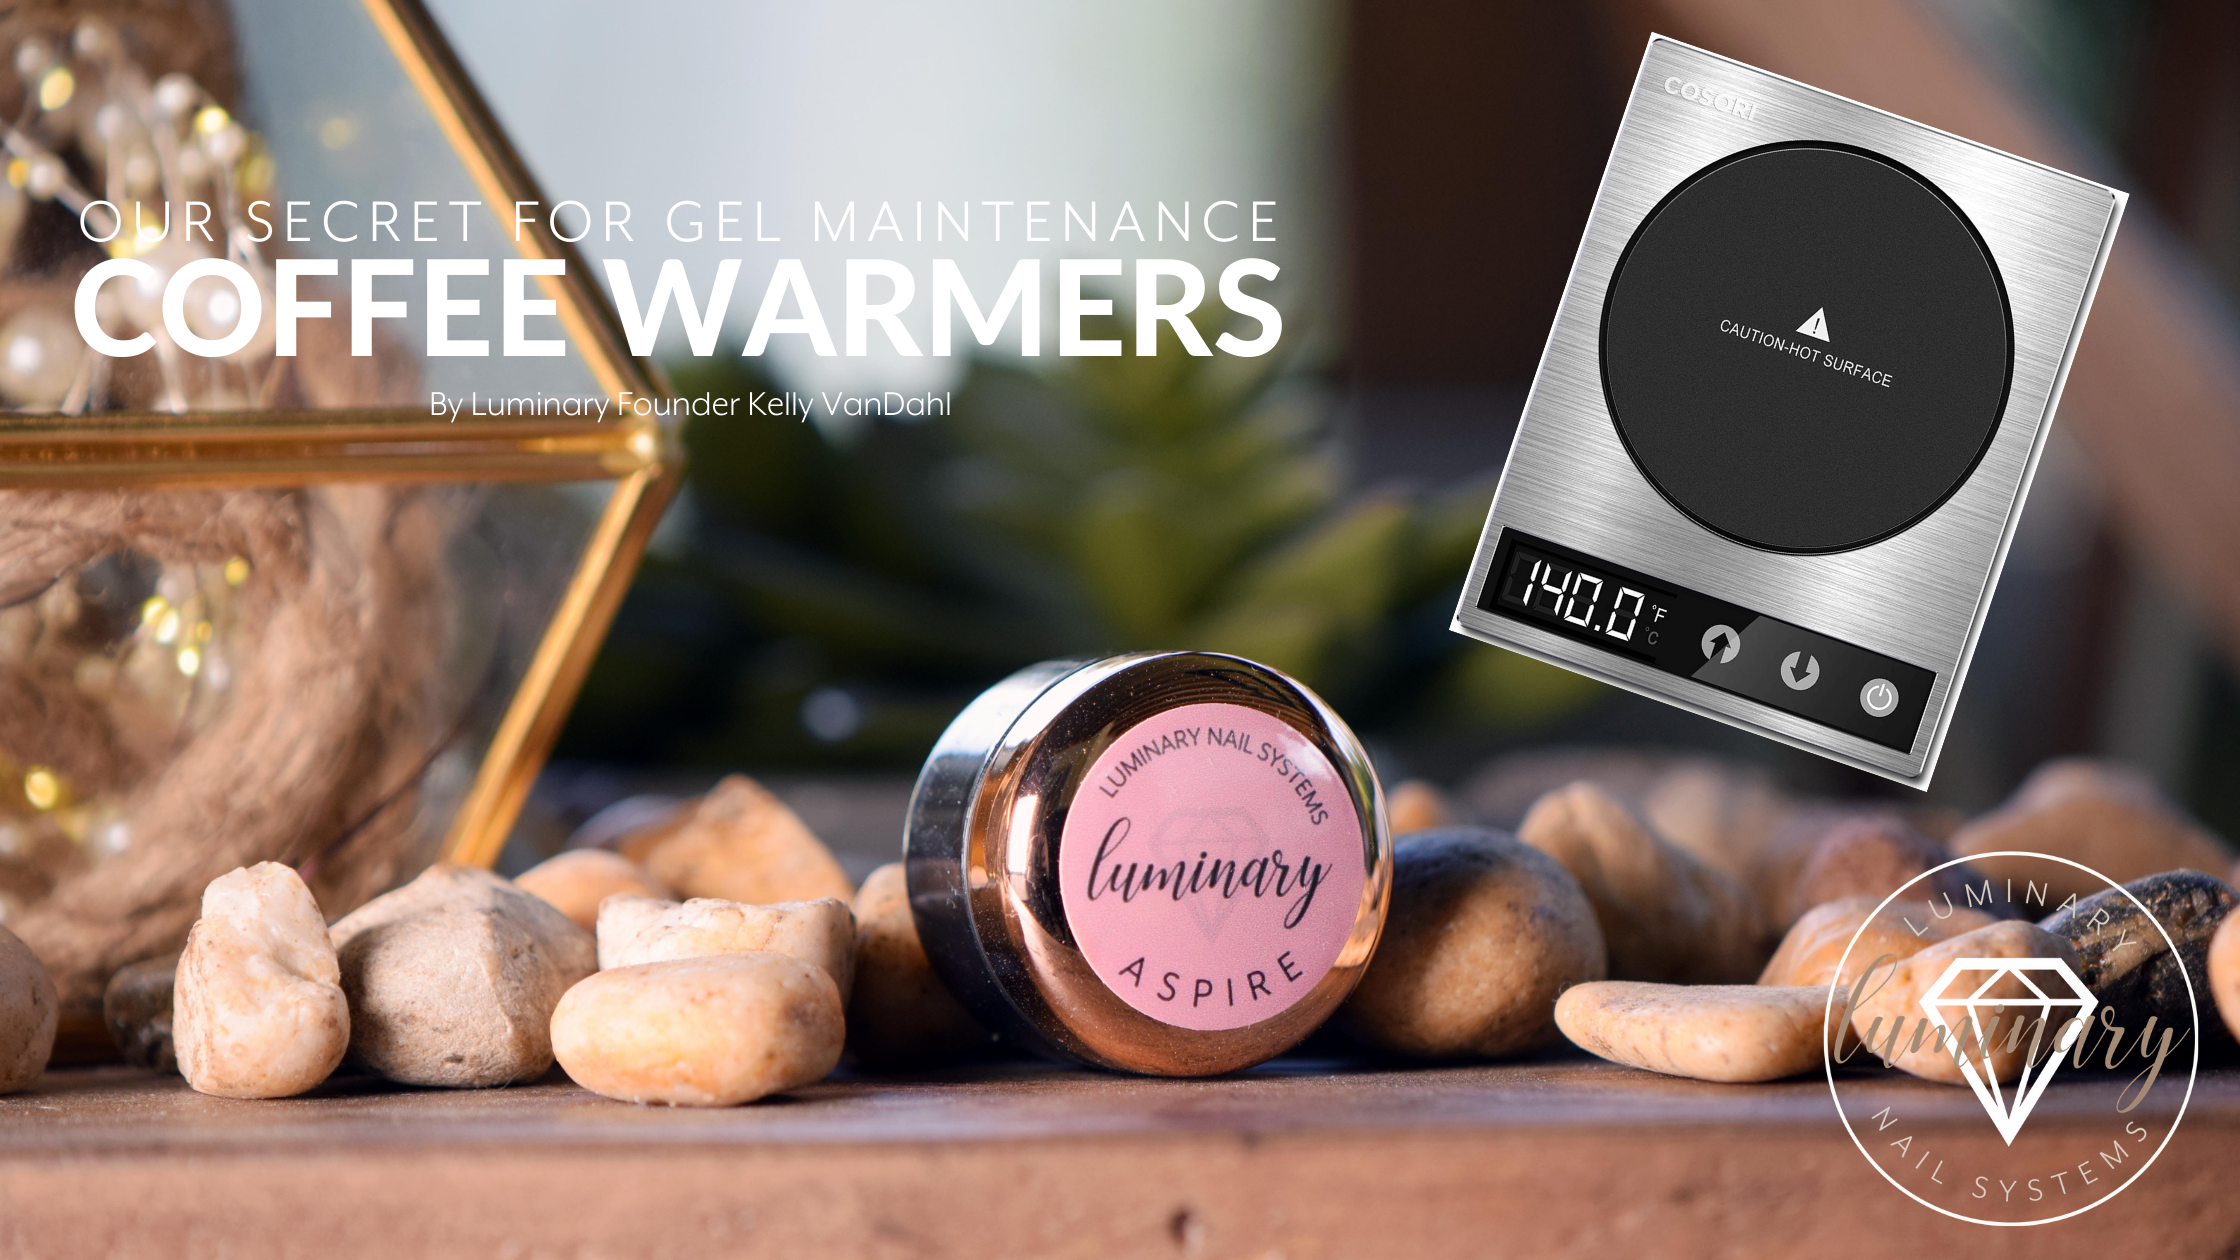
- Apply a slip layer using the Multi-Flex color of your choice. Grab a bead of gel and build the nail up to form the perfect arch. Remember when you get to this step that your client’s hand is going to be warm as she has just been in the light for a minute. If your gel is runnier than usual, that is why. The warmer the client’s hand, the runnier the gel.
- OR Apply a thin amount of gel and cure for 60 seconds. Remove the dispersion layer and file into shape before building.
Head over to our Instagram page to watch a short clip demonstrating all of the above!
BONUS Tip!

I have one more tip/trick for you guys while doing this repair. Luminary is on the thinner viscosity side so when you’re applying your custom mix to the form, it may be too runny. Here is how to fix that. Make sure you have a mixture already made up ahead of time and once you are happy with the color, put it in the FRIDGE, yep I said the FRIDGE! I told you the warmer the gel the runnier it is--that is also true for cold in that the colder your gel is, the thicker it will be. I have this small fridge I keep at my desk, and it works great for the gel and a few drinks!
Thank you all for your support of Luminary! Hopefully these tips and tricks help you in the salon and that you have an amazing Christmas and New Year!
XO,
Kelly