Picture Perfect: My Guide to Capturing Your Mani's Best Angles
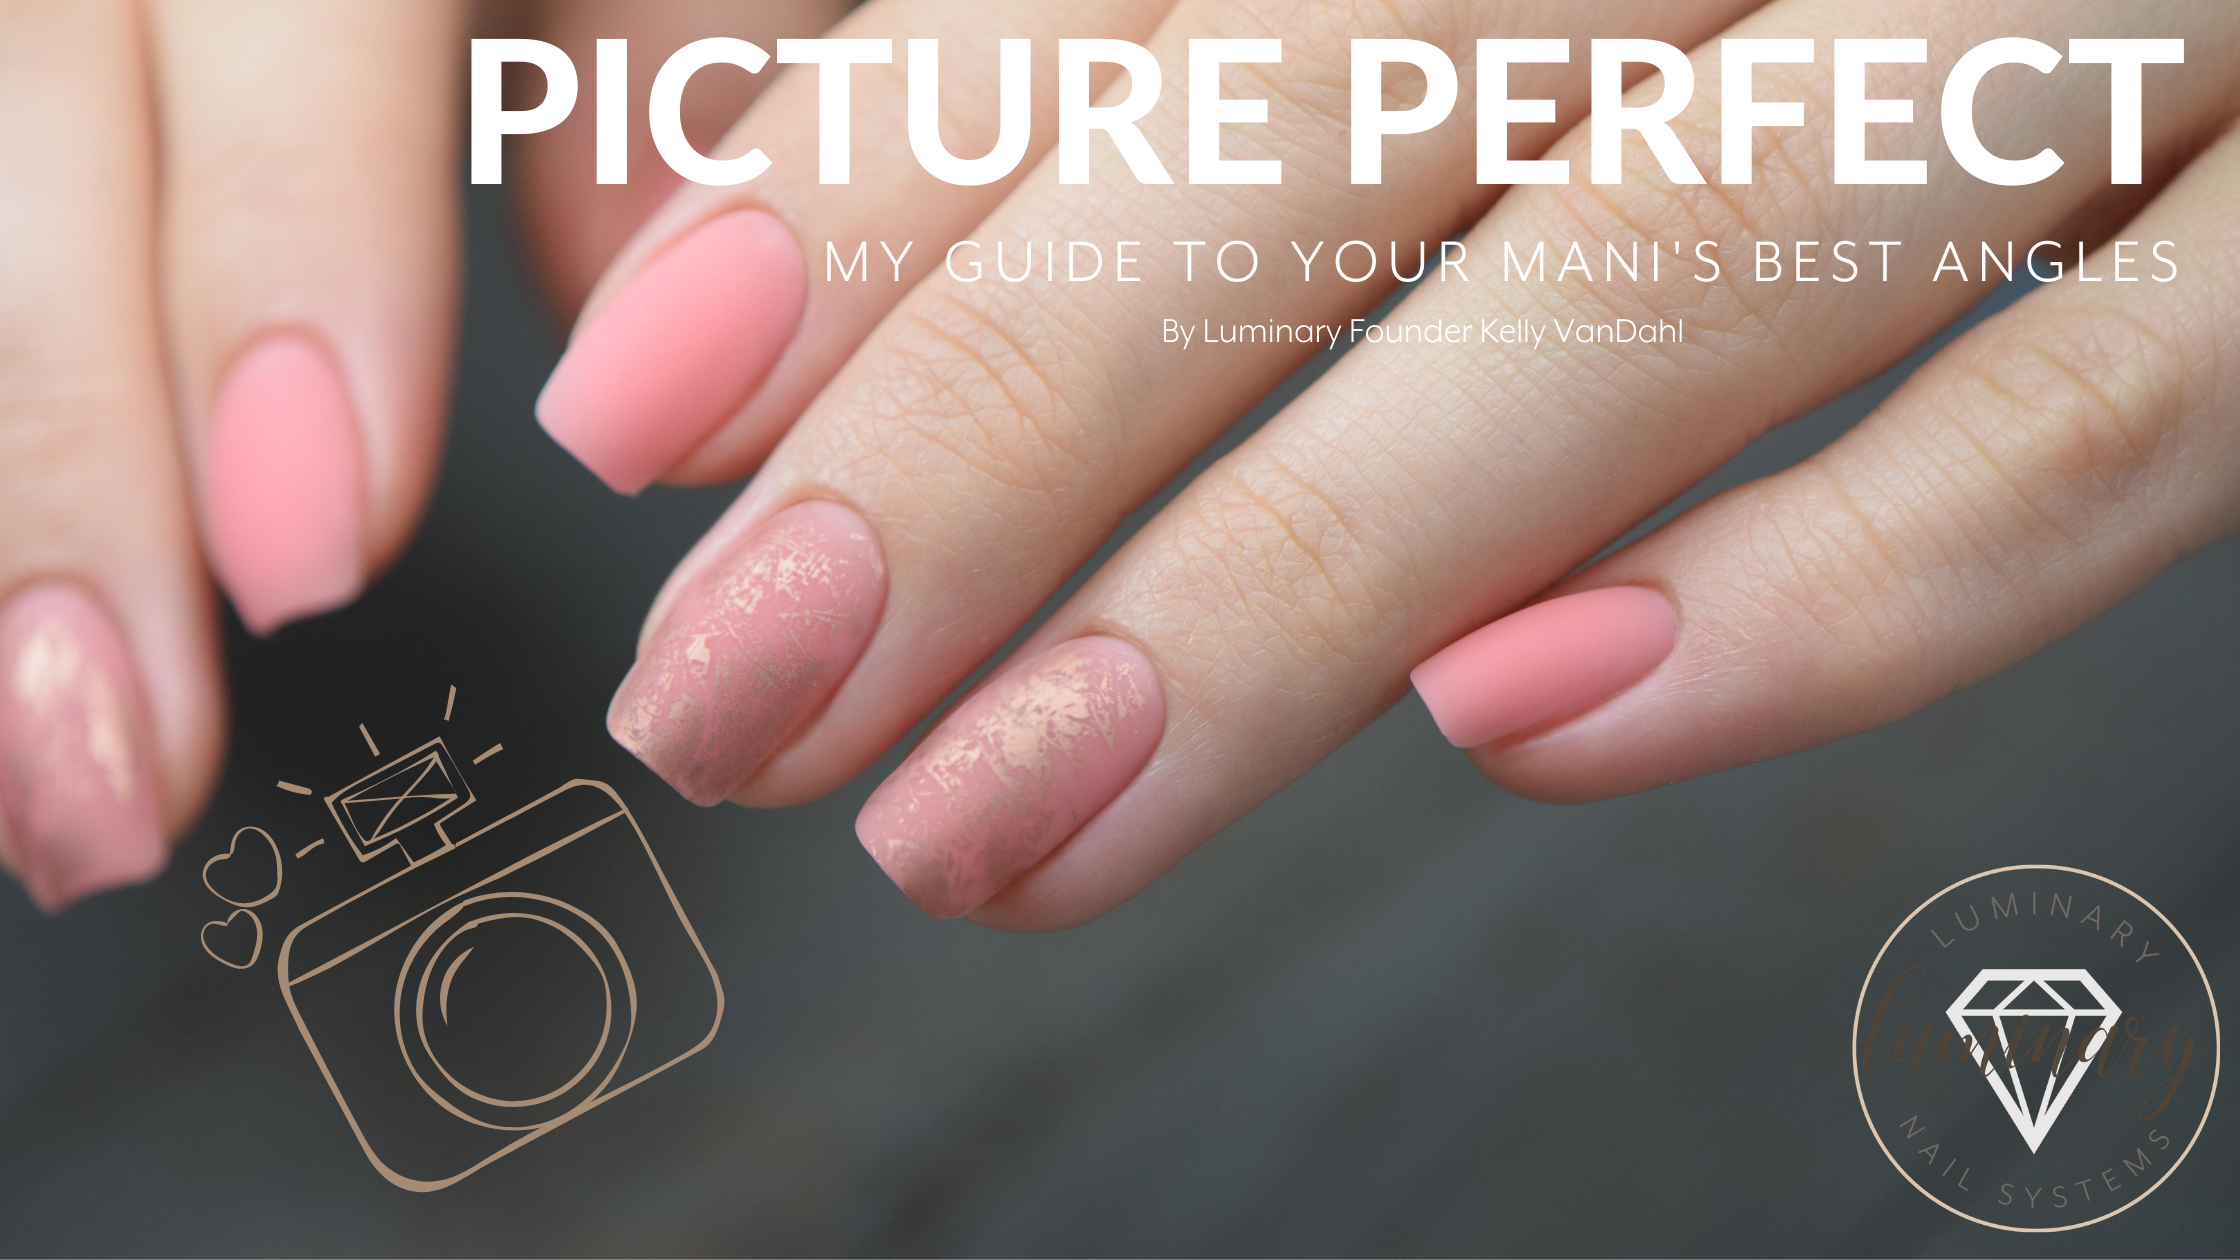
Hi Guys! This topic is one of my absolute favorites because photography is a huge passion of mine. I am by no means a pro photographer but I know what works and what looks good… most of the time ;-) Did you know I take all of our Luminary product shots? Macro photography is my favorite so nails and small products are a perfect subject for me.
In our world today the content you upload to social media is super important. It can gain you potential new clients, give your current clients ideas for their next appointment, and gain the attention of brands whom you’re tagging in your pictures.
Luminary for instance always recognizes our customers by continually and consistently posting YOUR work. We don’t rely on pretty “branded” pictures, because you are what makes our company and we want to share YOU! But… we need pretty content right?! You don’t have to be a professional photographer to take beautiful pictures and as a nail tech you already have an eye for detail, so combining that with a few tips and tricks is more than enough to get you started.
As a company, we look for a beautiful pose, consistent lighting, and a clean manicure. What do I mean by a clean manicure? A busy artful manicure can still be a clean one. The cuticles are tended to, the hands and fingers are moisturized but not too oily. This does not mean you have to perform a Russian Manicure by any means. Just clean!

I will give you guys some tips and links to where you can find some of these things no matter if you’re using a phone camera or a larger digital one.
Lighting: I love the spring arm lamps like this one from Ikea below, but they do wear out quickly because you can move them around pretty easy and get the light right where you need it. The bulb you choose is even more important than the lamp you choose. You need a photography bulb or outdoor indirect light to give the manicure the pop it deserves. This bulb is my favorite.

Focus: try portrait mode. This works much better outside than in a studio setting. Make sure you are farenough away from the hands so the background blurs. You’ll then most likely need to crop the picture to get in closer to the manicure.
Client's pose and hands: Take in to account what your client's hands look like. Are their fingers crooked? Are they relaxed? Take the time to make the pose look good and don’t be in too much of a hurry. What pose looks best? Are their hands even camera worthy? If you happen to nip your client with cuticle scissors or nippers make sure for the photo that their cuticles aren't bloody, as that can be one thing that takes away from an otherwise perfect manicure. So many things to take into consideration!
Background: A white poster board, a piece of wood… a simple background not anything too busy that takes the focus away from your beautiful manicure.


Don't forget, we go through our hashtag on a daily basis for content, so make sure you're tagging #luminarynailsystems and the color your using such as #luminaryhope Can't wait to see more of your beautiful pictures!
Try a few of these tips and see the difference in your pictures and comment below with any additional questions!
xo,
Kelly VanDahl